
In just 5 minutes, you'll learn how to use AI to automatically add subtitles to your videos. This guide walks you through the entire process from sign-up to export.

Step 1: Sign Up for Free
Go to heysubtitle.com and click "Get Started" in the top right. You can sign in with Google in one click, or register with your email.

Once registered, you'll receive:
- Welcome bonus minutes — ready to use immediately for transcription
- Monthly free quota — automatically replenished every month
Step 2: Upload Your Video
After logging in, click "Upload Video" in the navigation bar. You'll need to set two options:
- Source language — the language spoken in the video (e.g. English, Cantonese, etc.)
- Output language — the language you want the subtitles in
Then drag and drop your video into the upload area, or click to browse. Supports MP4, MOV, AVI, MKV, WebM and more.

Click "Upload" and the system will show you the upload progress.

Step 3: Wait for AI Processing
Once uploaded, the system automatically processes your video:
- Video encoding — generates a preview and thumbnail
- Audio extraction — extracts audio from the video
- AI transcription — converts speech to text automatically
- AI proofreading — corrects errors and optimizes sentence breaks
The entire process usually takes just a few minutes. You can see the status on the video list page. When it's done, a thumbnail will appear.
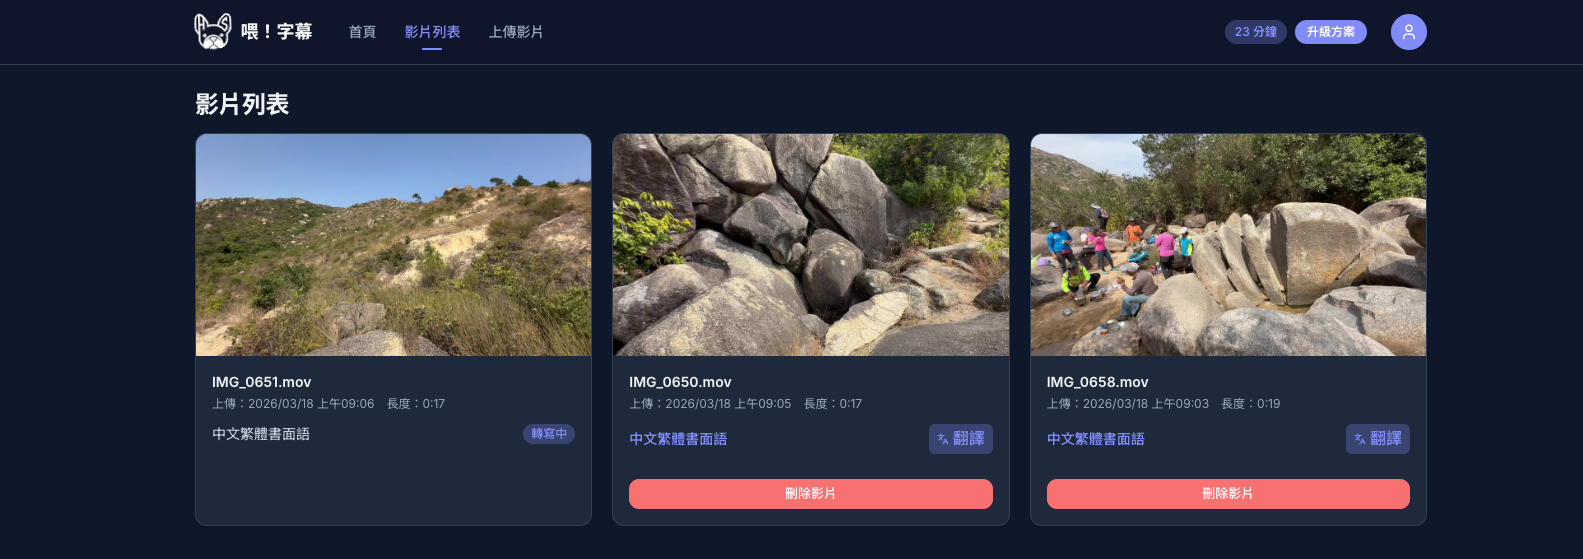
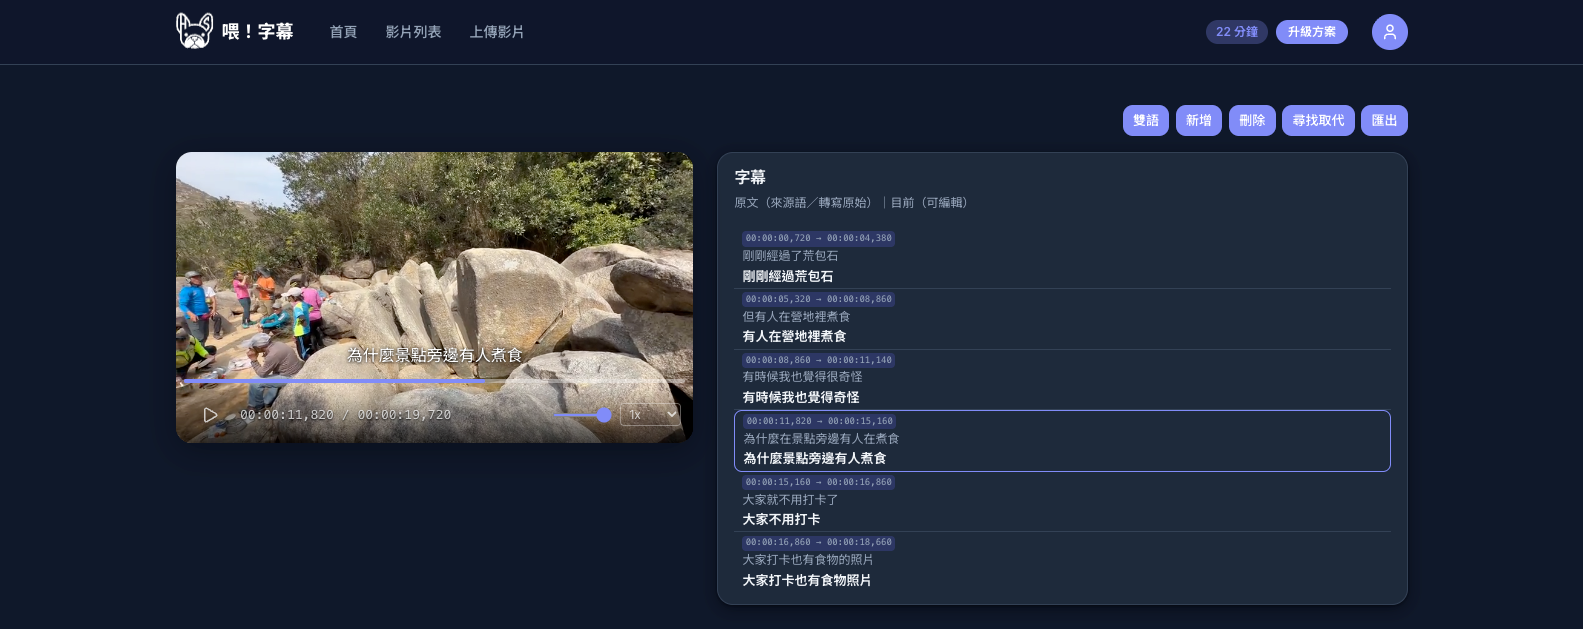
Step 4: Edit Subtitles
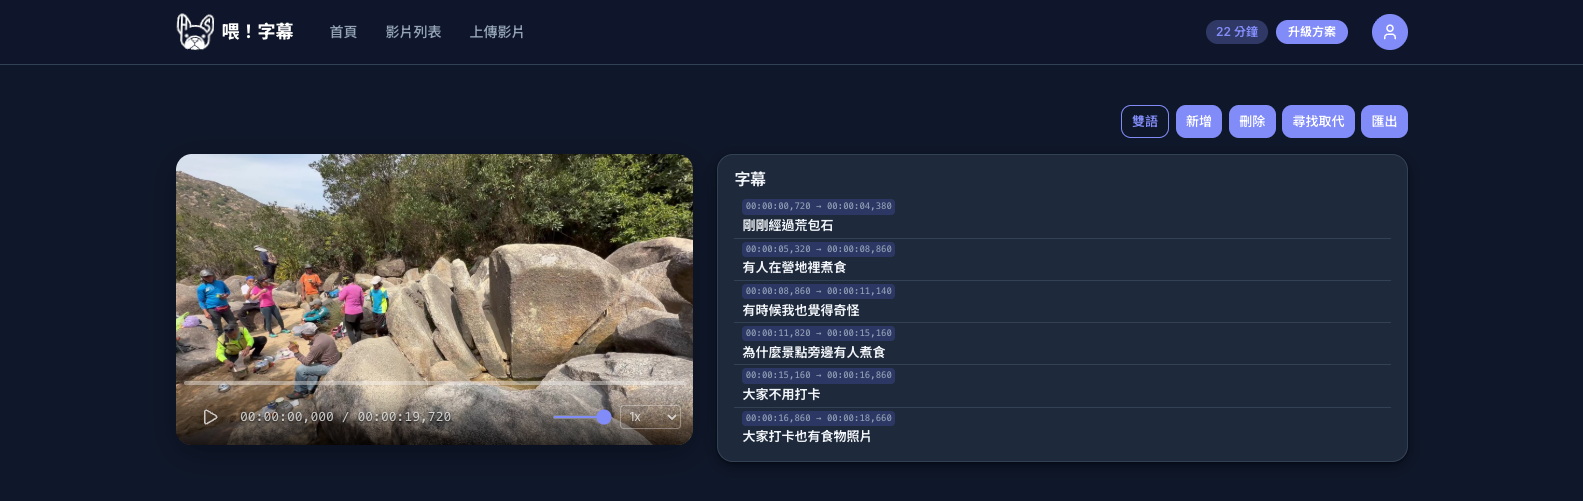
Once processing is complete, click the language name on the subtitle (e.g., "Cantonese Traditional") in the video listing to enter the subtitle editor. The video preview is on the left, and the subtitle list is on the right.
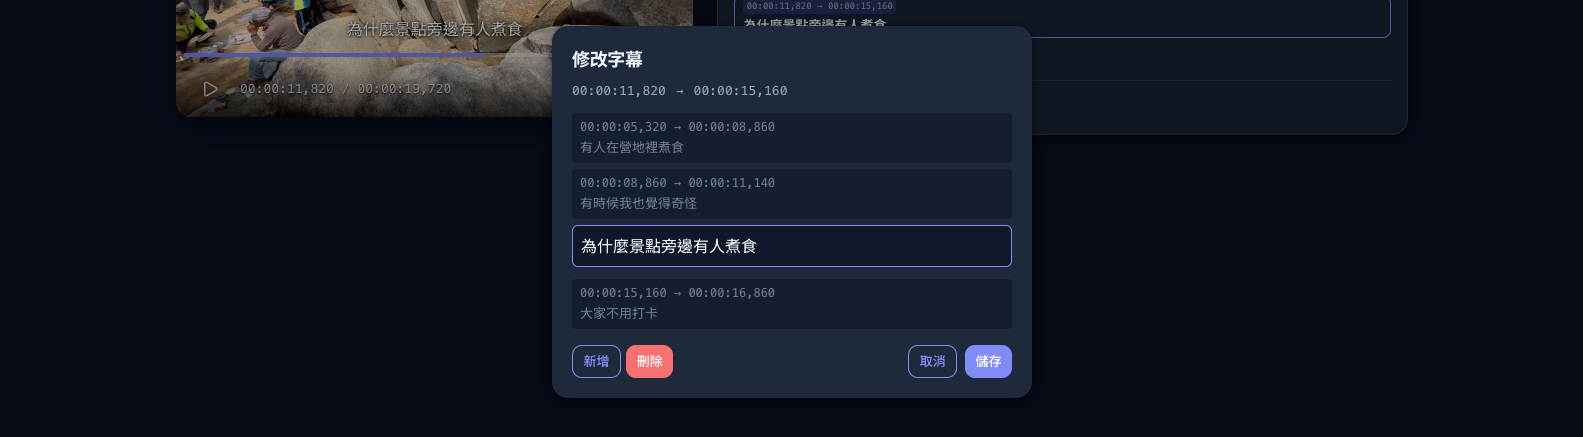
Edit Text
Click any subtitle line to open the edit panel. You can modify the text directly, and also add or delete rows from here.
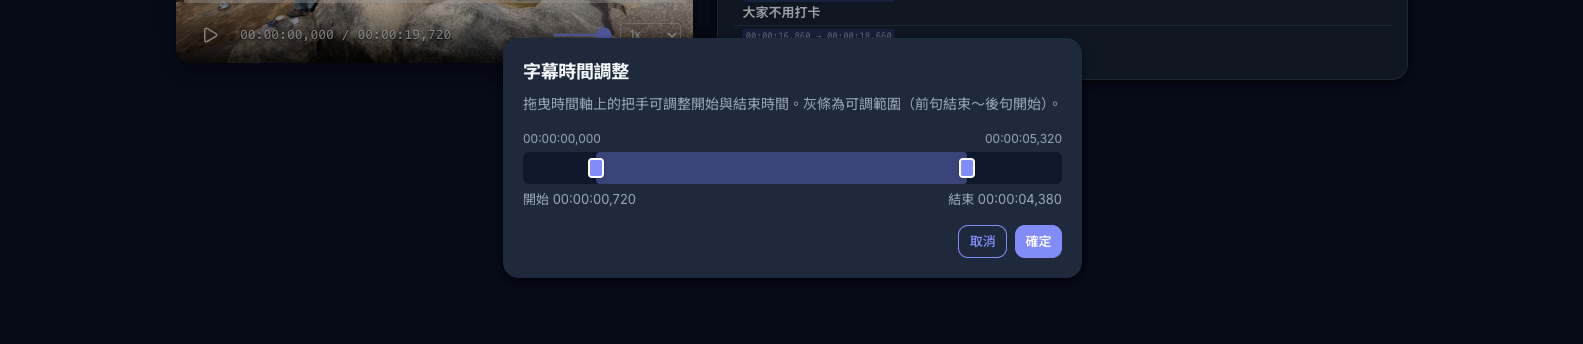
Adjust Timecodes
Click the timecode of any subtitle to open the time adjustment panel. Drag the sliders to precisely control when the subtitle appears and disappears.
Bilingual View
If your video has a translated version, click the "Bilingual" button in the toolbar to show both the original and translated text side by side for easy comparison.
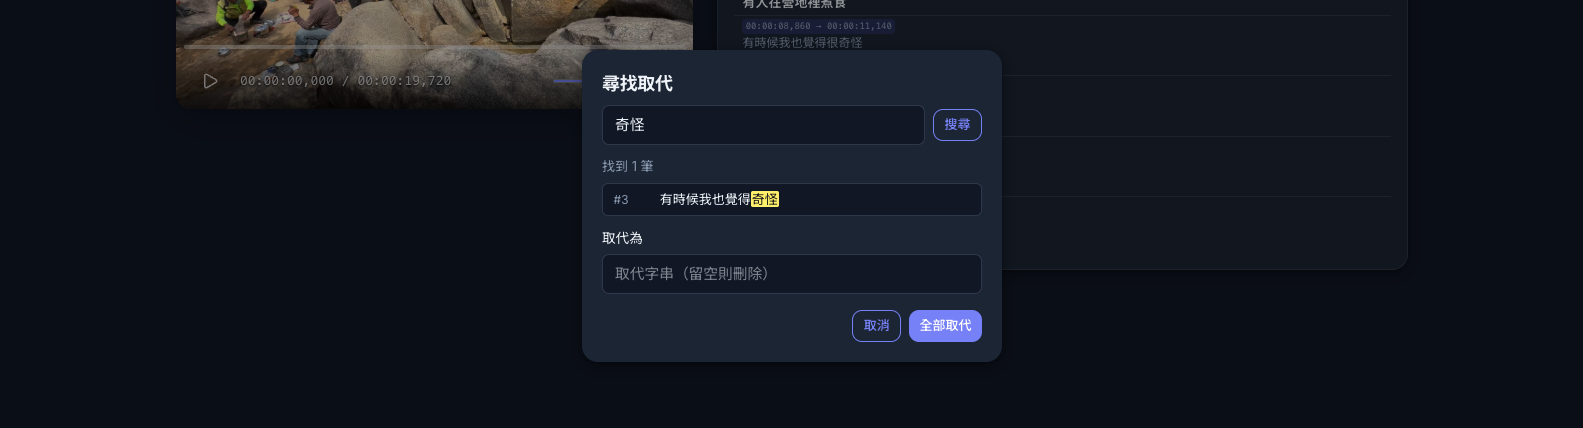
Find & Replace
Noticed a word that keeps getting transcribed incorrectly? Use "Find & Replace" to fix all instances at once — no need to edit line by line.
Step 5: Export Subtitles
When you're happy with the subtitles, click "Export" in the toolbar.

You can:
- Choose language — select which subtitle language to export
- Bilingual subtitles — optionally add a second language for bilingual subtitle files
- Choose format — SRT (universal) or VTT (web format)
Exported files can be directly imported into Premiere Pro, Final Cut Pro, DaVinci Resolve, CapCut and other editing software.
Step 6: Translate into More Languages
Once you're satisfied with the subtitles, you can translate them into other languages. Go back to the video list page and click the "Translate" button on the video card.
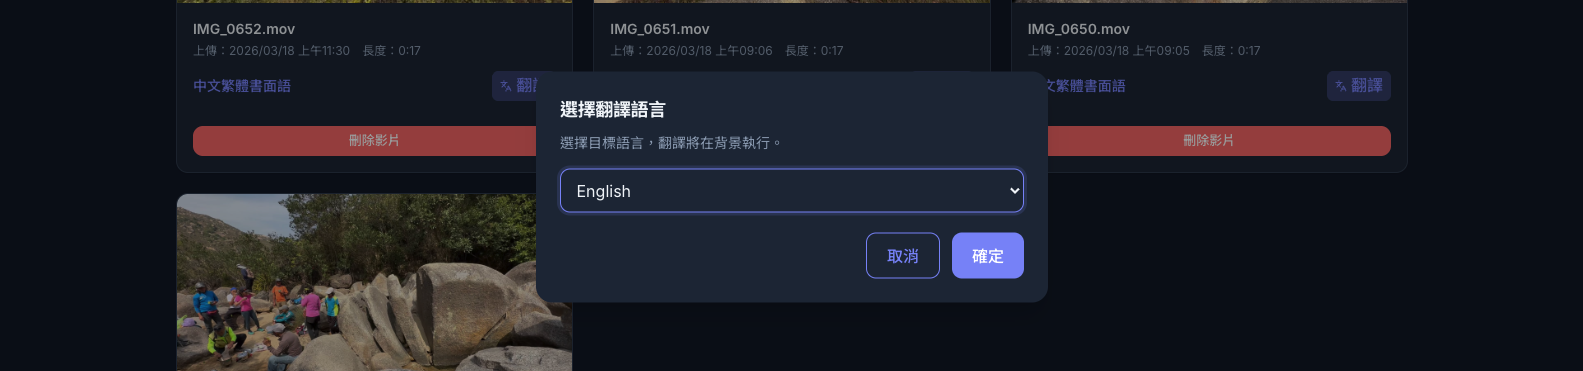
Select your target language (e.g. English), click "Confirm", and the system will translate in the background. Once complete, you can use the "Bilingual" button in the editor to review the translation side by side.
> Important: Review and correct the original subtitles before translating. Errors in the original will carry over to the translation, meaning you'd have to fix things twice.
Tips
- Choosing the right language is the key to accuracy — make sure the source language is set correctly
- Proofread before translating — fix the original subtitles first to avoid double work
- Videos with clear speech and minimal background noise produce the best results
- If your video has background music, consider separating vocals before uploading
- The free plan includes monthly transcription minutes, enough for everyday use